Envy Worthy Travel Instagram Photos
Get Envy Worthy Travel Instagram Photos!
BY VALERIE WILSON (aka. TRUSTED TRAVEL GIRL)

If you are a traveler, or you are just suffering from a severe case of wanderlust, then chances are you have found yourself glued to Instagram. We have all been there, scrolling through travel Instagram feeds, wishing our travel photos looked like the ones we see reposted time after time.
Instagram photography has become an art form of it’s own, but I still come across dozens of dull travel photos. And let’s be honest, if you are not posting a dynamic photo, why are you posting on Instagram at all? Well, now is the time to accomplish those #photographygoals because I am here to tell you just how to capture that envy-worthy shot.
1) Know the Basic Rules of Photography
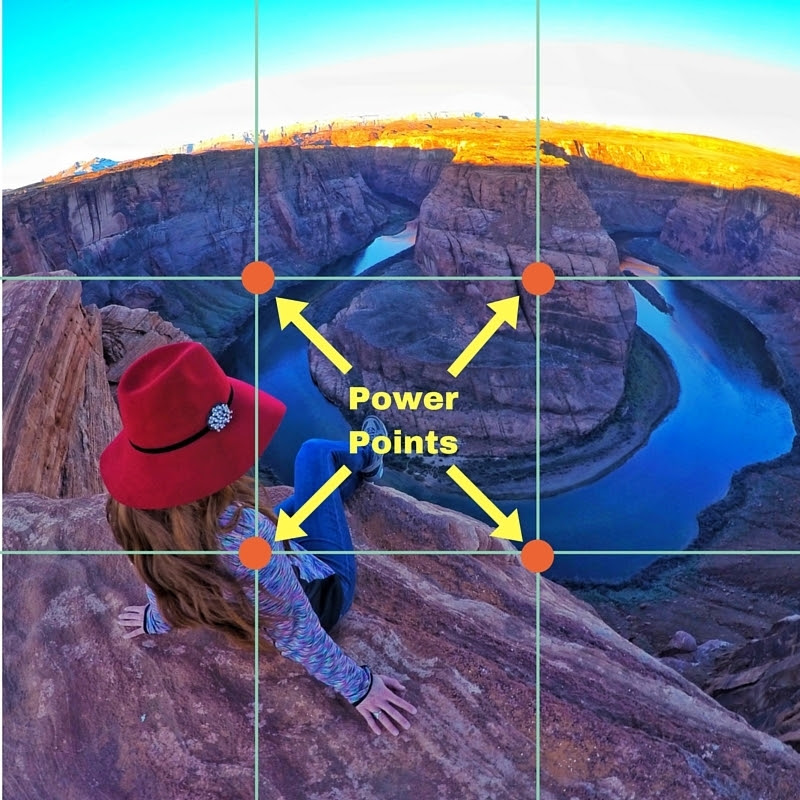
Knowing the basic composition rules of photography is key. The first rule to understand is the rule of thirds, and even if you don’t use this rule for all photos, keeping it in mind can make or break some of your photos.
The rule of thirds is essentially a guideline to placing the most interesting elements in your photo along imaginary guidelines, which are broken up into thirds, or at the powerful points where the lines intersect. Some cameras, including your iPhone, have a grid that can be set up to help you automatically find these points while photographing.
Another important rule is to fill the frame. I am amazed by how many times people post photos on social media, and the subject of their photo is so small that you almost have to squint to see it.
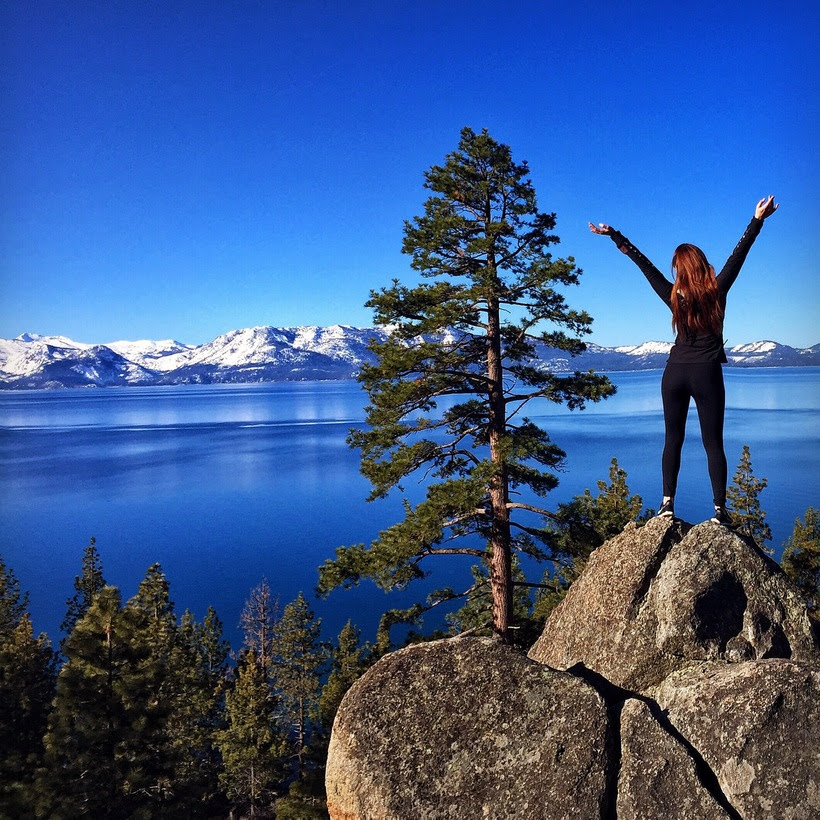
After coming home with some underwhelming travel photos from a trip to Egypt, I attended a National Geographic travel photography seminar. The best takeaway from the seminar was that, if the photo wasn’t as interesting as the subject was in real life, then you almost always were not close enough or zoomed in enough. The more you fill the photo with your subject matter, the more exciting the photo becomes.
2) Use Quality Equipment
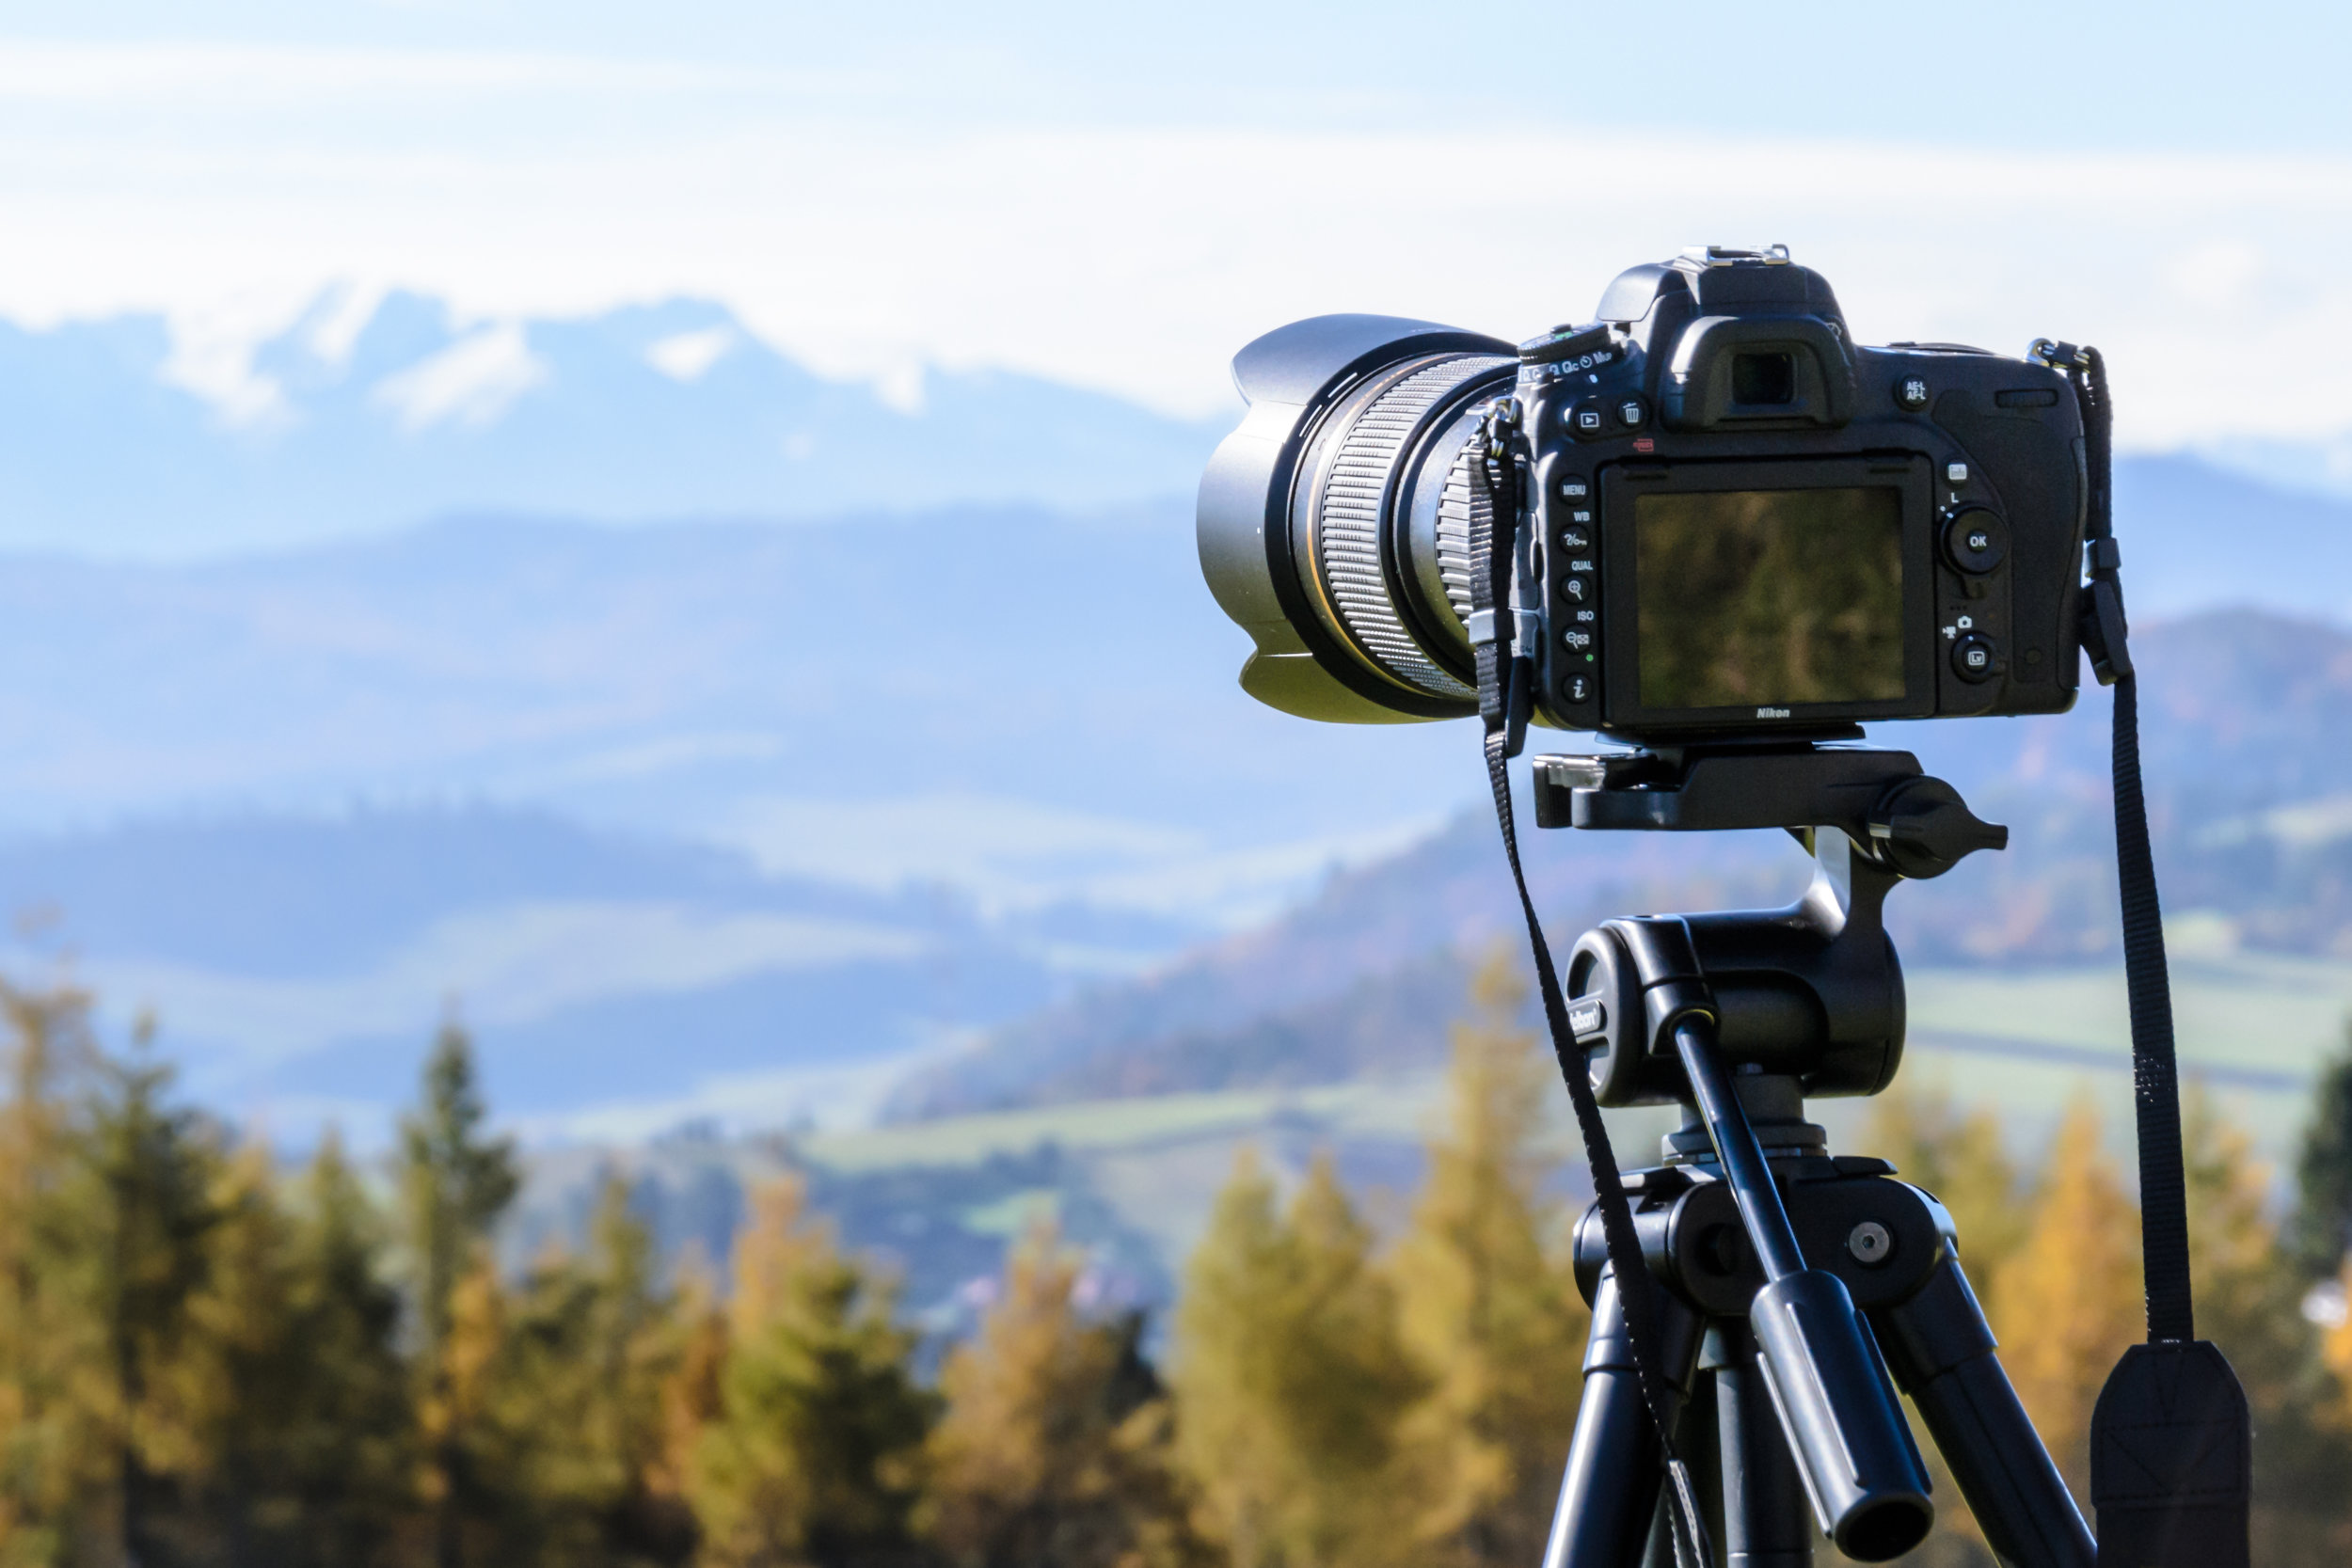
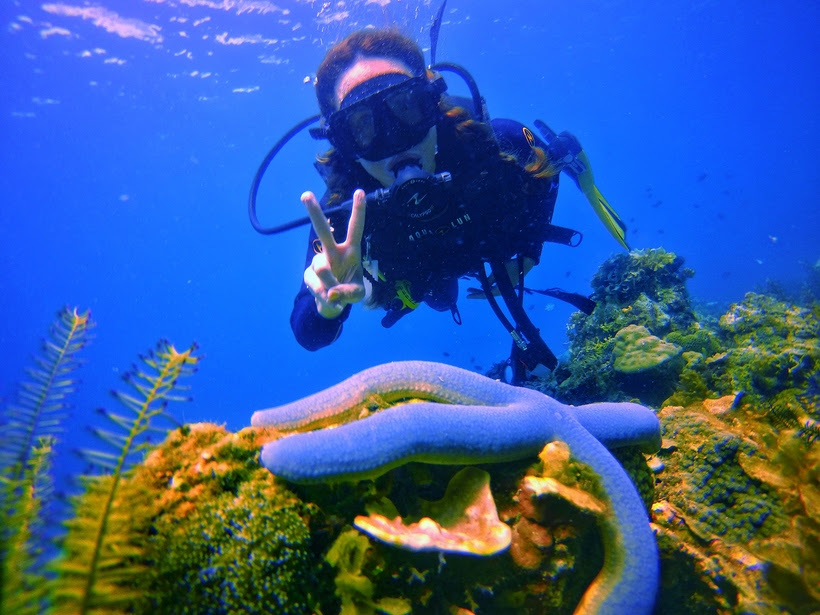
I definitely cannot take credit for every aspect of my photos on my Instagram feed - the equipment I use really helps me get those fantastic shots. Often times that’s my iPhone (which fortunately has a pretty powerful camera these days), but I really try to make an effort to use my SONY A7S or Nikon DSLR, or sometimes Jessica’s Canon 5D. I also recently upgraded my GoPro to the top of the line version, as the image quality is far better, especially in the ocean and in low light at night. Of course, not everyone can go out a buy a $1000 DSLR, but there are several inexpensive options that can allow you to take fantastic photos. Try to find the best camera you are able to afford, but remember that sometimes the best camera you have is just the one in your hand when the moment strikes.
3) Don’t Be Afraid of Strangers
What does stranger danger have to do with photography? Frankly, a lot when you travel alone. I’m often asked if I have a photographer that travels with me to take my pictures. Not yet, but apparently I am very good at making it look like I do!
Conditions (such as high winds at the Grand Canyon) and impromptu moments aren’t always made for tripods. I don’t always want a selfie stick in my photo, so I’m not afraid to ask strangers for help to get the perfect instagram shot. Even if someone speaks a different language, it’s easy to explain that you are asking them to take your photo. About 50% of the time you will get someone who is really enthusiastic about taking your photo; this is when you have the opportunity to be the director and tell them exactly how you want the photo to look, primarily by showing them examples.
In addition to providing examples for inspiration, I also instruct my new photographer to use burst mode. Burst mode is extremely easy if you have an iPhone; just hold the button down instead of tapping (the iPhone6 is capable of taking 10 photos per second). This rapid fire photography allows me to adjust my facial expressions, posture, and the direction I’m looking, while also getting a variety of shots. It takes a period of 15-20 seconds, but this means one of them is bound to be good, even if the person taking the photo doesn’t know what they are doing!
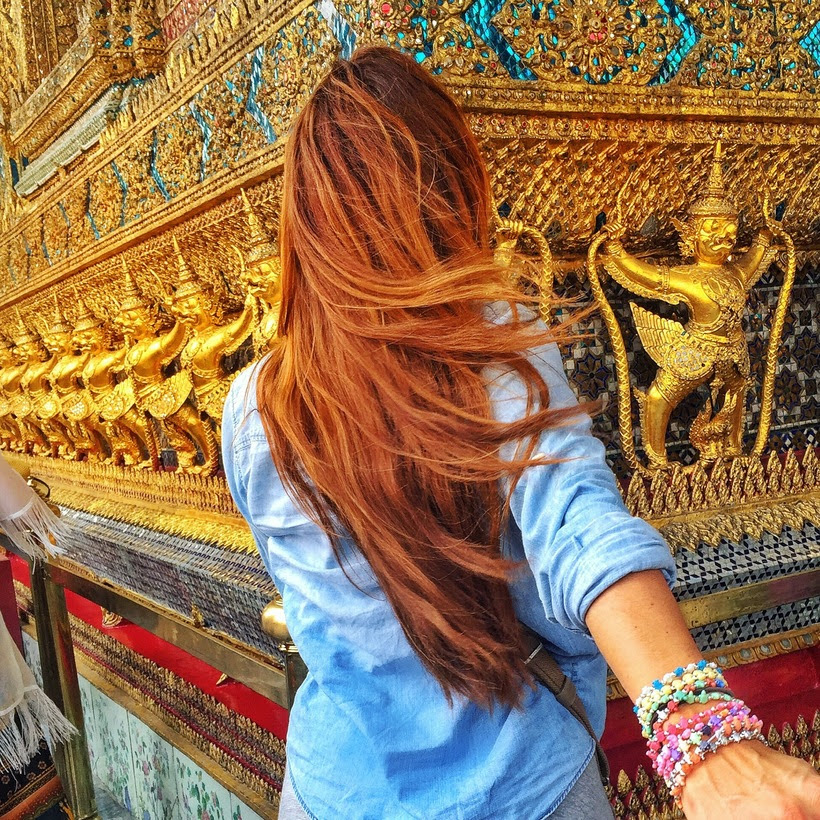
4) Stop Feeling Embarrassed
I don’t allow myself to feel embarrassed when taking travel photos anymore. Even if people judge me for using my selfie stick, or the fact that I may look really funny crouched down to get a good angle of some nearby scenery, I just stopped letting it all bother me. The fact of the matter is, most people are so self-absorbed that they aren’t paying much attention to me anyways.
Though it is not the most impressive of my talents, I’ve mastered the art of the candid pose. Pictures where you are smiling are great, but they aren’t as interesting on the eyes. I look especially silly to others when faking a candid pose, (like when gazing into the distance) but I have stopped caring. At the end of the day, I’m the one that has the great photos to show for all of my silly poses and hard work.
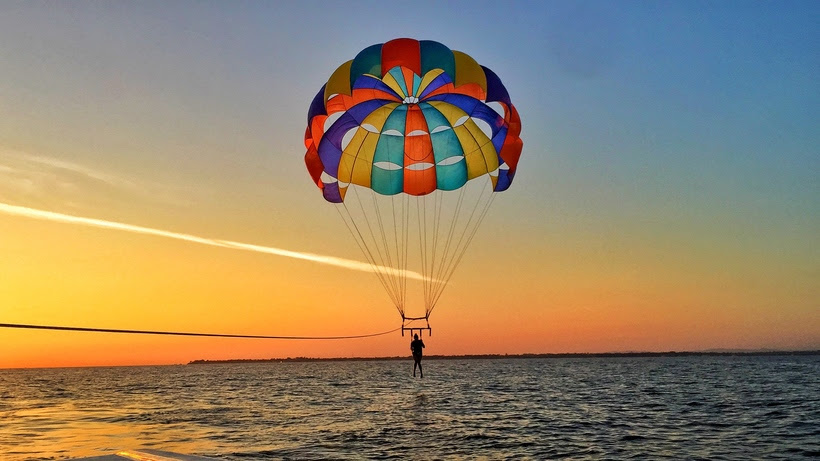
5) Plan Ahead
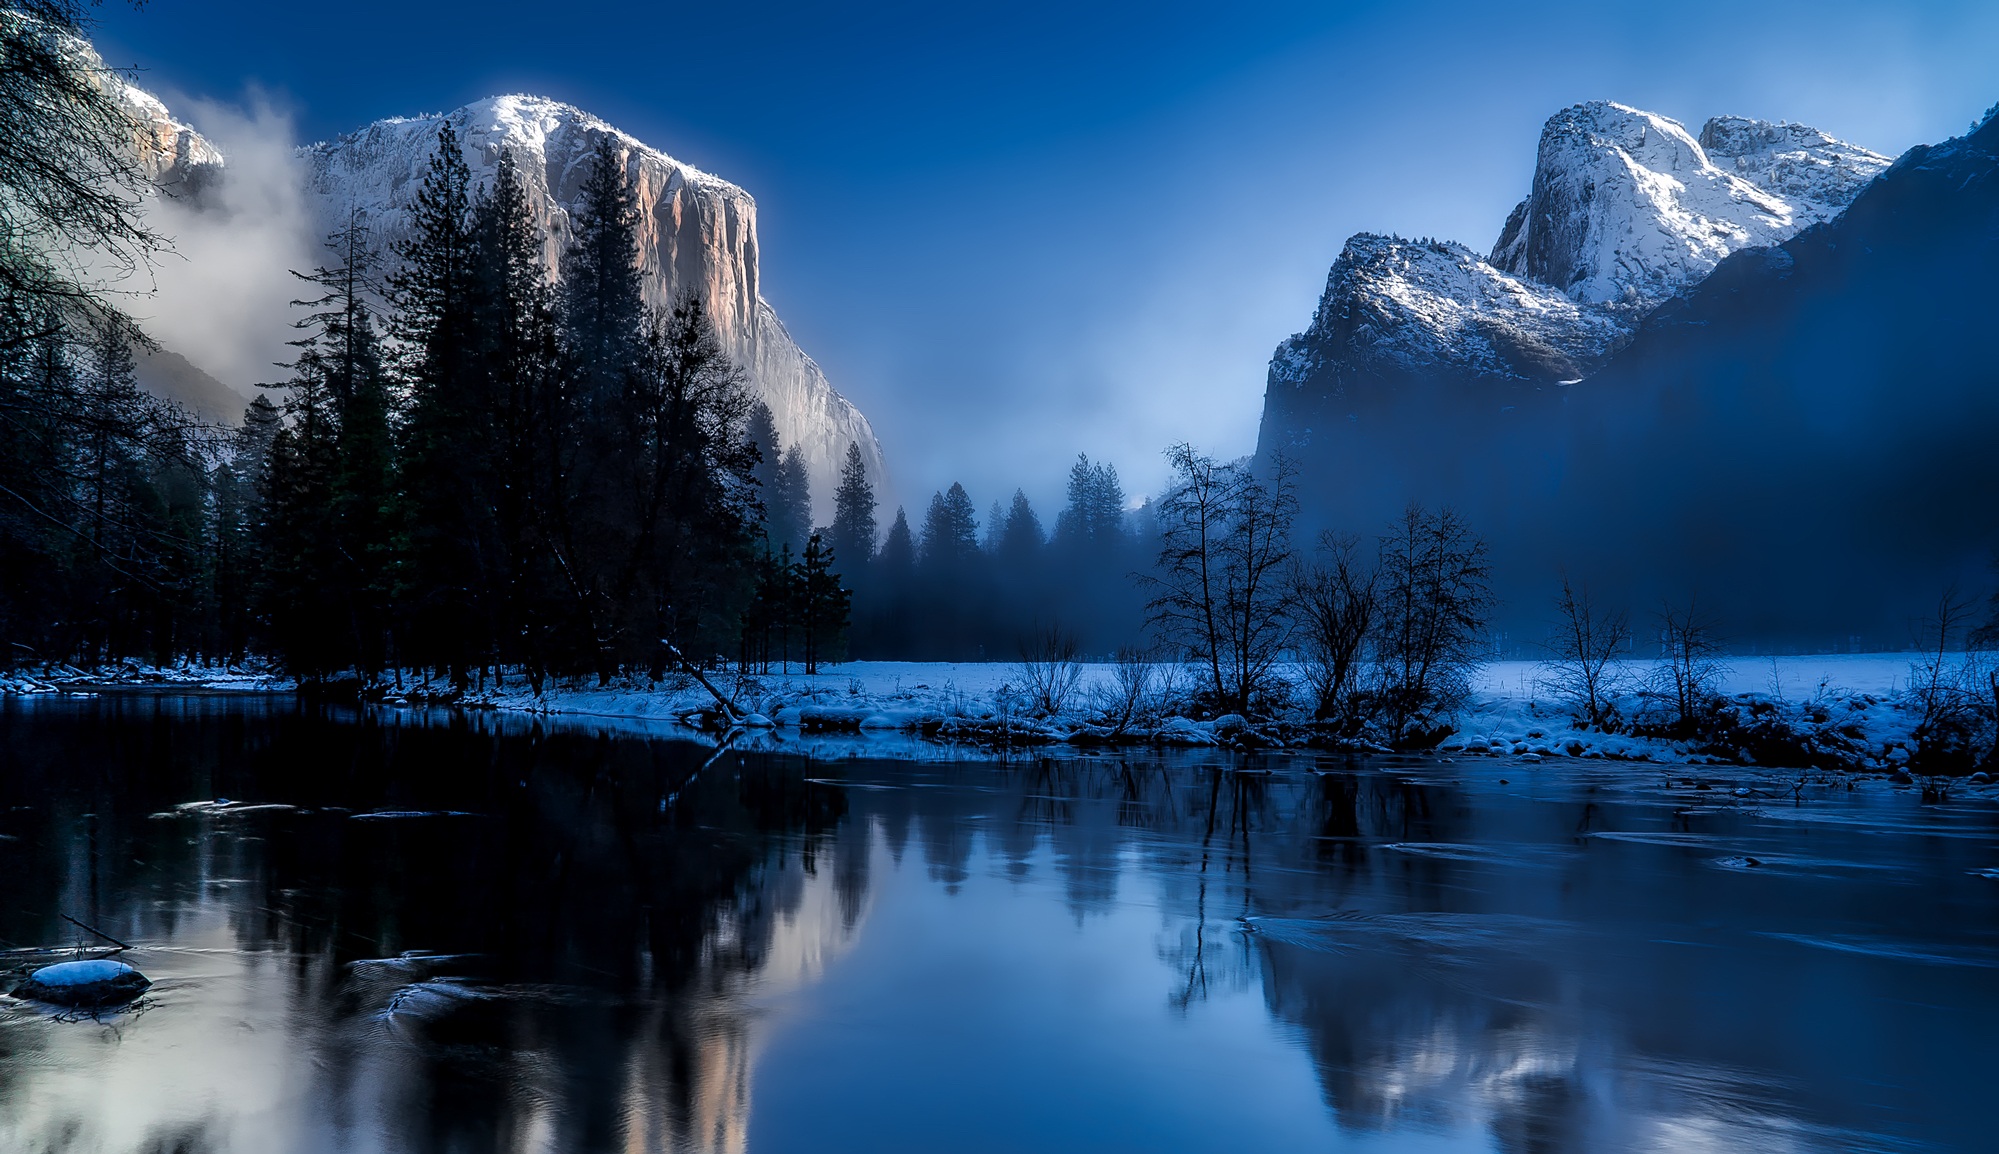
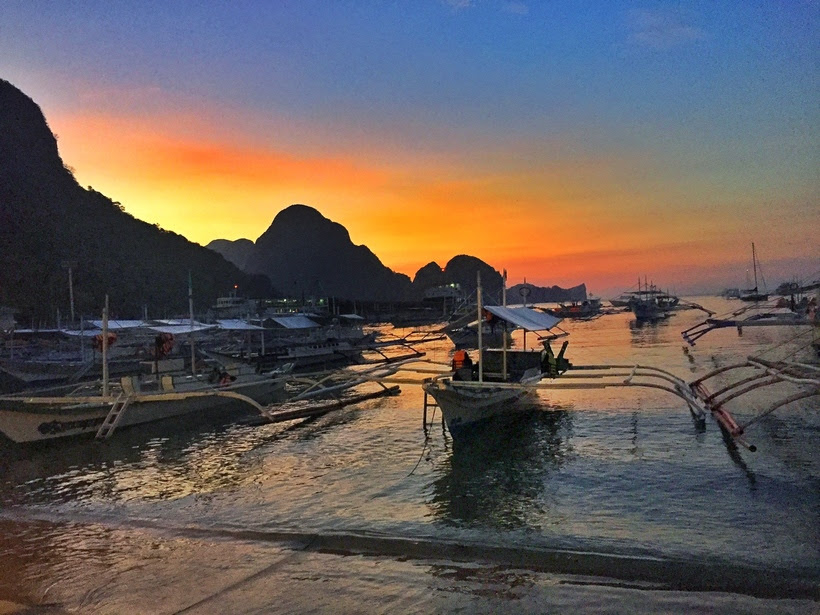
I wait for the timing to be just right, as the best photos are captured during that sought-aftergolden hour when the light is perfect. This is one I learned from Jessica’s experience in front of the camera. Noon light is the worst, for it casts weird shadows on faces of subjects and creates a flat boring light for scenic shots. The best is to get up early for sunrises or wait around until just before sunset. This golden hour creates the most aesthetic palette for capturing scenery and people, as the light is less harsh, more forgiving and void of awkward shadows.
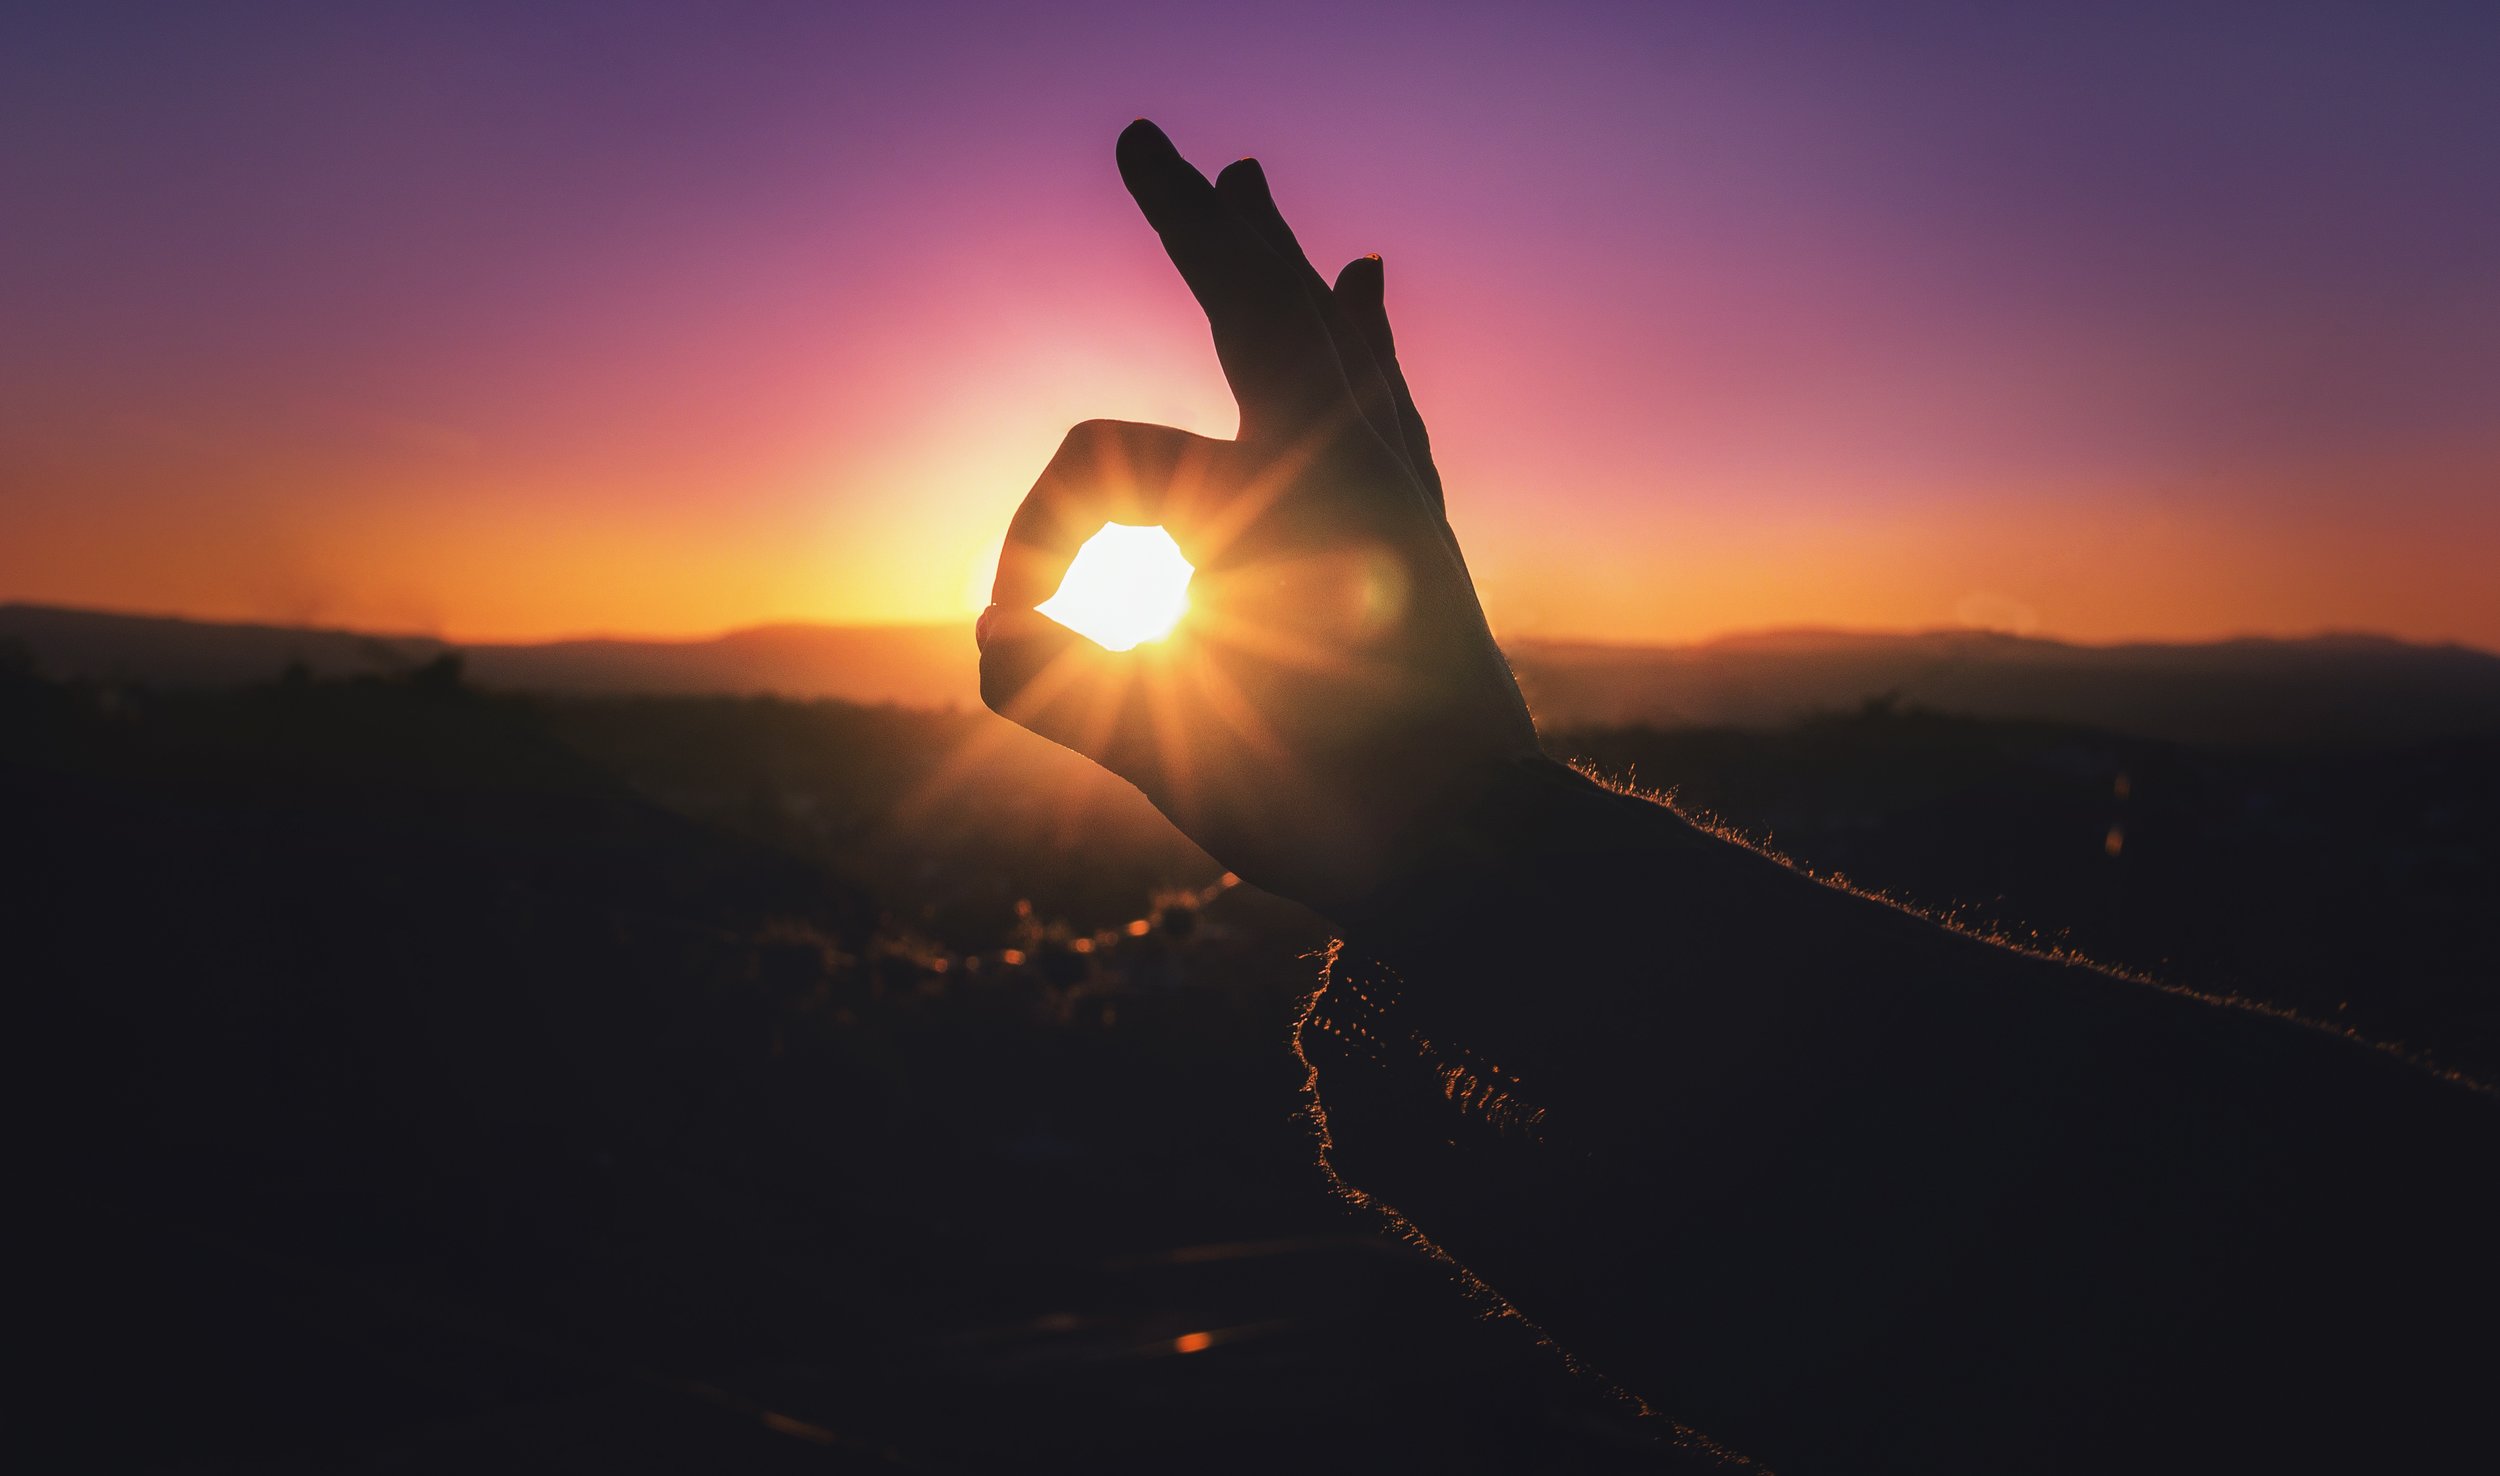
While most people aren’t waking up early for the good light, they will stick around for sunsets. This is why if you are going someplace that is super touristy, I recommend waking up before sunrise to get the shots you want without the crowds. It takes some dedication, but it’s well worth it!
Another way that I plan ahead is by researching the places before I go. You can use Instagram and Google to see what cool images people have shared by location. I do not look to copy, but it definitely gives great inspiration!
6) Learn to Edit
Yes, I edit my photos. No matter how great a photo is, sometimes it isn’t able to do justice to the experience I had. In a perfect world we wouldn’t have to color correct, sharpen and saturate, but if you want to keep up with everyone else, you need to edit your photos! I often spend 20 minutes editing a photo before I put it on Instagram.
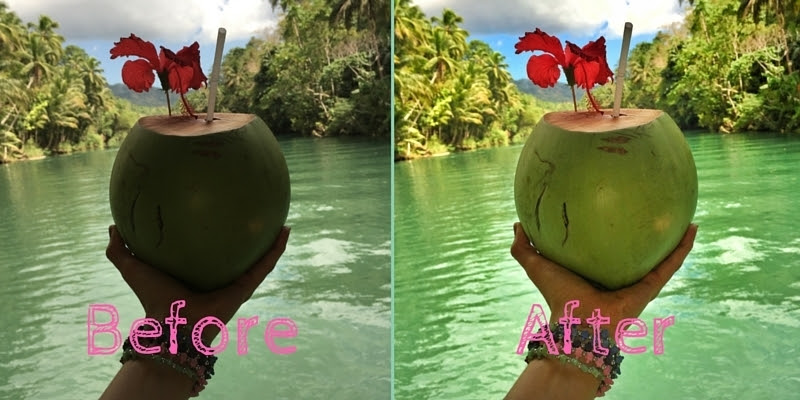
My favorite apps for editing are SnapSeed and VSCO. If you are using your computer, I suggest getting LightRoom or Photoshop. On SnapSeed I am able to select certain parts of the image and adjust accordingly without messing with the rest of the photo. For example, I was in the Philippines floating down a beautiful river on a riverboat, and I wanted to take a picture of my coconut and the beautiful background. I could not get the shadows off the coconut, so I brightened in editing afterward. What remained was the integrity of the rest of my photo, and a photo that created an accurate depiction of my actual experience as opposed to a photo that made my experience not look as beautiful as it actually was. Editing isn’t lying, it’s just another form of art!

Lastly, photography is all about expressing your unique point of view. Find a style that you like, make it your own, and stick with it. You won’t get there overnight, but practice makes perfect!
MORE ABOUT OUR AUTHOR:
Valerie is a solo travel expert, photographer and travel host. Valerie prefers to travel like a local and not a tourist, getting off-the-beaten-path of tourism and discovering hidden gems that only local's tend to know about.
Valerie is an adventure and experience junkie with no comfort zone.
Valerie shares her passion for travel, and experiences with new cultures, as well as travel tips on her Instagram: @TrustedTravelGirl & Youtube as well as her website TrustedTravelGirl.com